| Name HP tooltip |
SPD | Level Type |
Affinities | Locations Drops |
|---|---|---|---|---|
| 156 | 80 Mob
| Weak:
Resist: | Present Garulea Continent (Hard) Inanari Plateau | |
| 157 | 80 Mob
| Weak:
Resist: | Present Garulea Continent (Hard) Inanari Plateau | |
| 251 | 80 Mob
| Weak:
Resist: | Present Garulea Continent (Hard) Inanari Plateau Vermilion Road |
Present Garulea Continent (Another Dungeon)
| Present Garulea Continent Present Era | |
|---|---|

| |
| Synonym | PGAD
|
| Rec. Level (Hard) | 80 |
| Story Character Light/Shadow Points |
|
| Difficulty | 1st Reward |
2nd Reward |
3rd Reward |
4th Reward |
5th Reward |
|---|---|---|---|---|---|
| Hard | 24+ | 60+ | 120+ | 240+ | 360+ |
Area
| Map type | Map Names | Minimaps |
|---|---|---|
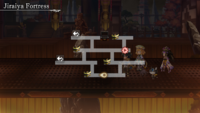
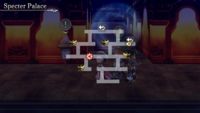
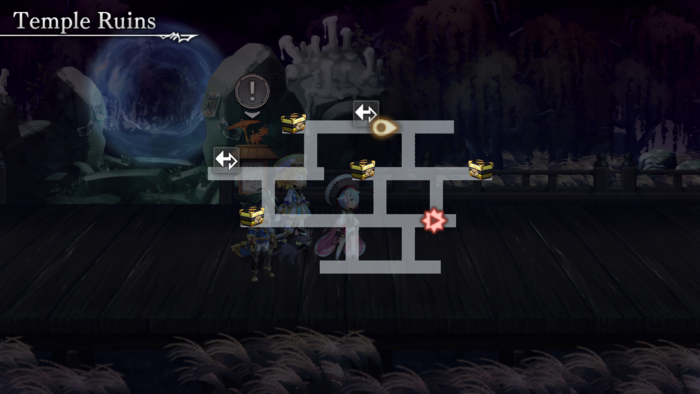
| Chest Maps | Jiraiya Fortress Specter Palace Temple Ruins | |
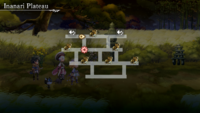
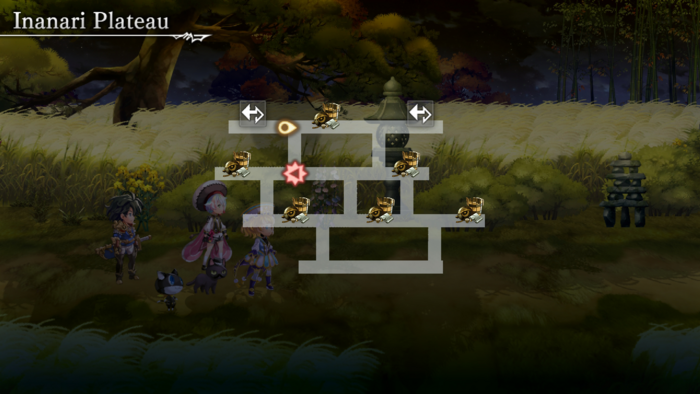
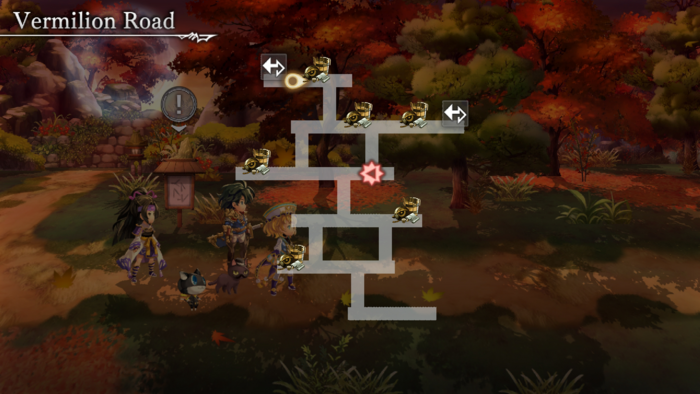
| Junk Maps | Inanari Plateau Kunlun Mountains Vermilion Road | |
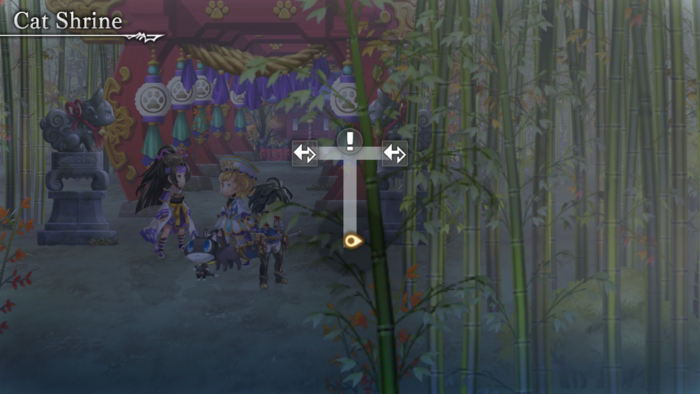
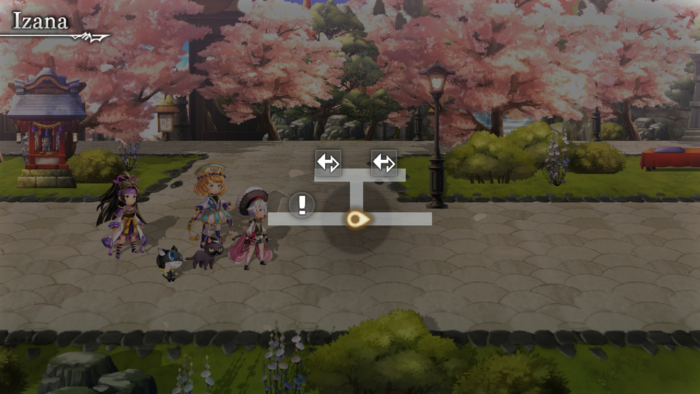
| Safe Maps | Cat Shrine Izana Nagsham |
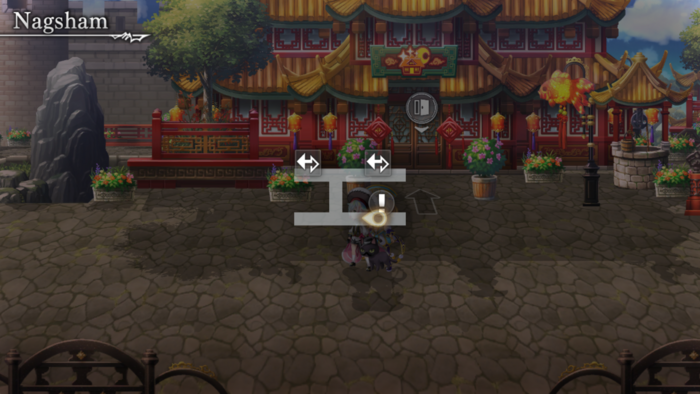
Edit Mechanics page MechanicsThe Present Garulea Continent costs 2 Green Keys to enter, and operates differently from most other Another Dungeons. The player starts in Izana, an enemy-free map where they can trade in various materials gathered from prior runs through the rest of the Present Garulea Another Dungeon (PGAD). In each map, the player gets to choose between two possible destinations, randomly selected from the pool of eight maps. The destination will always be different from your current map, and it is possible to visit the same destination twice in a single run. If the player does revisit a map, its rewards (chests and sparkle points) are refreshed and rerolled. After traversing three maps, the next pair of portals brings them to two of three possible bosses - Ghastly Mizuchi, Karakuri, or Suzaku. Unlike other Another Dungeons, there is no limit to the number of random encounters each map with enemies can give. However, all mobs here will only drop Grasta Fragments. The chest in the boss room has slight variations depending on which boss you're against. While you can get Crystals and Jadeites of any type from any boss chest, Mizuchi's chest will only give Life Fragments, Karakuri's only gives Attack Fragments, and Suzaku's can give either type. Junk AreasThe Vermilion Road, Inanari Plains, and Kunlun Mountains don't contain chests, but instead have four sparkle points. Interacting with these sparkle points yields junk which can be traded in Nagsham for Grastas. One of these sparkle points will also always contain a colored crystal, 20 of which are needed to make a dye in Izana. Once you have 20 of these crystals, you cannot obtain any more from the corresponding map, and there will be only 3 sparkle points, which will yield junk. The Vermilion Road yields Crystals of Autumn Leaves; Inanari Plains gives Moonlight Fragments; Kunlun Mountains gives Snow-White Ice Stones. NagshamThis is an enemy-free zone where the player can trade Junk for Grastas. There are two merchants in this area: The merchant in the town square gives low-tier Grastas for 5 Junk and medium-tier Grastas for 20 Junk. This is also the only place where you can get "Power of Nothingness" Grastas. The merchant in the inn gives high-tier Grastas or Jadeites for 10 Junk apiece, but has limited stock. He has a total of 40 Grastas (one for each weapon and element combination, including non-elemental), 9 Jadeite of Attack, and one Jadeite of Life, and his trade selection includes three random choices from this pool. The merchants' stock refresh on each visit to Nagsham. If the player is forced to abandon their run, any Junk they expended in trade will not be refunded. There is also a rest point where the party can replenish their HP and MP. However, the inn does not provide any food after resting. Cat ShrineThis zone is also enemy-free but also has a low appearance rate. The only thing to do here is to collect a Cat Ema for 100 Git. This Cat Ema can be traded in Izana for rare Grastas. A total of 20 is needed to obtain all unique grastas. After that, Cat Ema can be traded for a Jadeite of Attack. Izana TradingThe house up front is host to three unique armors. However, to unlock the door that houses each, you must collect 20 of any one dye crystal to make the right dye. Moonlight Fragments make the Colors of the Moon dye which unlocks the Akatsuki Bracelet. Crystals of Autumn Leaves make the Colors of the Fall Leaves dye for the Brown Leaf Necklace. Snow-White Ice Stones make Colors of the Snow which unlocks the Silver Snow Ring. There is also a girl and man on the pier who want to trade for Cat Emas. The girl gives Grastas that increase the user's crit rate, while the man issues Grastas that increase damage at max HP. When all iterations of their Grastas have been collected (7 for the girl, 8 for the man), they will send you to the old man in the house, who will have last 2 unique Grastas to trade - Grasta that enables spells to crit for Staff users, and Grasta that improves Hammer users' healing skills. He will first offer the magic crit Grasta in exchange for two Emas, and then trade the hammer healing Grasta for three. Once all NPCs' grasta rewards are all exhausted, the Cat Hokora in Izana will be activated, allowing you to exchange a Cat Ema for a Jadeite of Attack. |
Enemies
| Name HP tooltip |
SPD | Level Type |
Affinities | Locations Drops |
|---|---|---|---|---|
| 253 | 80 Mob
| Weak:
Resist: | Present Garulea Continent (Hard) Jiraiya Fortress | |
| 158 | 80 Mob
| Weak:
Resist: | Present Garulea Continent (Hard) Jiraiya Fortress | |
| 158 | 80 Mob
| Weak:
Resist: | Present Garulea Continent (Hard) Jiraiya Fortress | |
| 157 | 80 Mob
| Weak:
Resist: | Present Garulea Continent (Hard) Jiraiya Fortress |
| Name HP tooltip |
SPD | Level Type |
Affinities | Locations Drops |
|---|---|---|---|---|
| 157 | 80 Mob
| Weak:
Resist: Absorb: | Present Garulea Continent (Hard) Kunlun Mountains | |
| 157 | 80 Mob
| Weak:
Resist: | Present Garulea Continent (Hard) Kunlun Mountains | |
| 251 | 80 Mob
| Weak:
Resist: | Present Garulea Continent (Hard) Kunlun Mountains |
| Name HP tooltip |
SPD | Level Type |
Affinities | Locations Drops |
|---|---|---|---|---|
| 156 | 80 Mob
| Weak:
Resist: | Present Garulea Continent (Hard) Specter Palace | |
| 220 | 80 Mob
| Weak:
Resist: | Present Garulea Continent (Hard) Specter Palace | |
| 158 | 80 Mob
| Weak:
Resist: | Present Garulea Continent (Hard) Specter Palace | |
| 159 | 80 Mob
| Weak:
Resist: | Present Garulea Continent (Hard) Specter Palace |
| Name HP tooltip |
SPD | Level Type |
Affinities | Locations Drops |
|---|---|---|---|---|
| 80 | 80 Mob
| Weak:
Resist: | Present Garulea Continent (Hard) Temple Ruins | |
| 80 | 80 Mob
| Weak:
Resist: | Present Garulea Continent (Hard) Temple Ruins | |
| 156 | 80 Mob
| Weak:
Resist: | Present Garulea Continent (Hard) Temple Ruins | |
| 220 | 80 Mob
| Weak:
Resist: | Present Garulea Continent (Hard) Temple Ruins |
| Name HP tooltip |
SPD | Level Type |
Affinities | Locations Drops |
|---|---|---|---|---|
| 79 | 80 Mob
| Weak:
Resist: | Present Garulea Continent (Hard) Vermilion Road | |
| 218 | 80 Mob
| Weak:
Resist: | Present Garulea Continent (Hard) Vermilion Road | |
| 251 | 80 Mob
| Weak:
Resist: | Present Garulea Continent (Hard) Inanari Plateau Vermilion Road |
| Name HP tooltip |
SPD | Level Type |
Affinities | Locations Drops |
|---|---|---|---|---|
| 178 | 90 Horror
| Weak:
Resist: | Present Garulea Continent (Hard) Specter Palace | |
| 178 | 90 Horror
| Weak:
Resist: Null: | Present Garulea Continent (Hard) Temple Ruins | |
| 178 | 90 Horror
| Weak:
Resist: | Present Garulea Continent (Hard) Kunlun Mountains | |
| 178 | 90 Horror
| Weak:
Resist: | Present Garulea Continent (Hard) Vermilion Road | |
| 178 | 90 Horror
| Weak:
Resist: | Present Garulea Continent (Hard) Inanari Plateau | |
| 178 | 90 Horror
| Weak:
Resist: | Present Garulea Continent (Hard) Jiraiya Fortress |
| Name HP tooltip |
SPD | Level Type |
Affinities | Locations Drops |
|---|---|---|---|---|
| 160 | ??
Boss
| Weak:
Resist: | Present Garulea Continent (Hard) • None | |
| 160 | ??
Boss
| Weak:
Resist: | Present Garulea Continent (Hard) • None | |
| 160 | ??
Boss
| Weak:
Resist: | Present Garulea Continent (Hard) | |
| Void Shell | 160 | ??
Boss
| Weak:
Resist: | Present Garulea Continent (Hard) |
Repeatable Rewards
Treasure Chest Contents
| Present Garulea Continent (Another Dungeon) Treasure Chest Contents | ||||||
|---|---|---|---|---|---|---|
| Map Type | Map 1 | Map 2 | Map 3 | |||
| Chest Maps | Jiraiya Fortress | Specter Palace | Temple Ruins | |||
Chest 1
Chest 2
|
Chest 3
Chest 4
|
Chest 1
Chest 2
|
Chest 3
Chest 4
|
Chest 1
Chest 2
|
Chest 3
Chest 4
| |
| Boss Maps | Mizuchi | Karakuri | Suzaku | |||
Chest 1
|
Chest 1
|
Chest 1
| ||||
| Sparkle Maps | Inanari Plateau | Kunlun Mountains | Vermilion Road | |||
| Junk sparkle points:
Once per map until 20 collected:
|
Junk sparkle points:
Once per map until 20 collected:
|
Junk sparkle points:
Once per map until 20 collected:
| ||||
| Other Maps | Cat Shrine | |||||
| ||||||
Completion Rewards
Each of these items has a chance to drop from each unlocked end reward slot, upon finishing Another Dungeon. Drop rates are fixed and not affected by player actions.
- PGAD: Nagsham Merchant (20 Junk)
- PGAD: Completion Reward
- FGAD: Completion Reward
- PGAD: Nagsham Merchant (20 Junk)
- PGAD: Completion Reward
- FGAD: Completion Reward
- PGAD: Nagsham Merchant (20 Junk)
- PGAD: Completion Reward
- FGAD: Completion Reward
- PGAD: Nagsham Merchant (20 Junk)
- PGAD: Completion Reward
- FGAD: Completion Reward
※ Total rate per reward slot: 0.1% (each) x 12 (released) = 1.2% (any of 12)
※ Total rate per reward slot: 0.1% (each) x 81 (released) = 8.1% (any of 81)
| Hard
|
|---|
|
|
| Difficulty | Stat | 1st Reward | 2nd Reward | 3rd Reward |
|---|---|---|---|---|
| Main Stat Type: | ' | ' | ' | |
| Hard | Main Stat | |||
| Icon | Name | Description |
|---|---|---|
| High Class Scroll | Gain 500,000 EXP | |
| Medium Class Scroll | Gain 50,000 EXP |
Purchasable Grastas
Exchange ![]() Junk for additional grastas
Junk for additional grastas
- PGAD: Nagsham merchant (5 Junk)
- Overworld Mob Drops: Temple Ruins Scarlet Wheel
Non-repeatable Rewards
| Name | Stats | Obtain / Effects |
|---|---|---|
| |
185 - Def
166 - MDef
60 - LVL |
Present Garulea Continent (Hard)
|
| |
166 - Def
166 - MDef
60 - LVL |
Present Garulea Continent (Hard)
|
| |
150 - Def
185 - MDef
60 - LVL |
Present Garulea Continent (Hard)
|
| Rank | Name | Requirement | Reward |
|---|---|---|---|
| Reclaiming the Present Garulea Continent | Clear Present Garulea Continent (HARD) |
